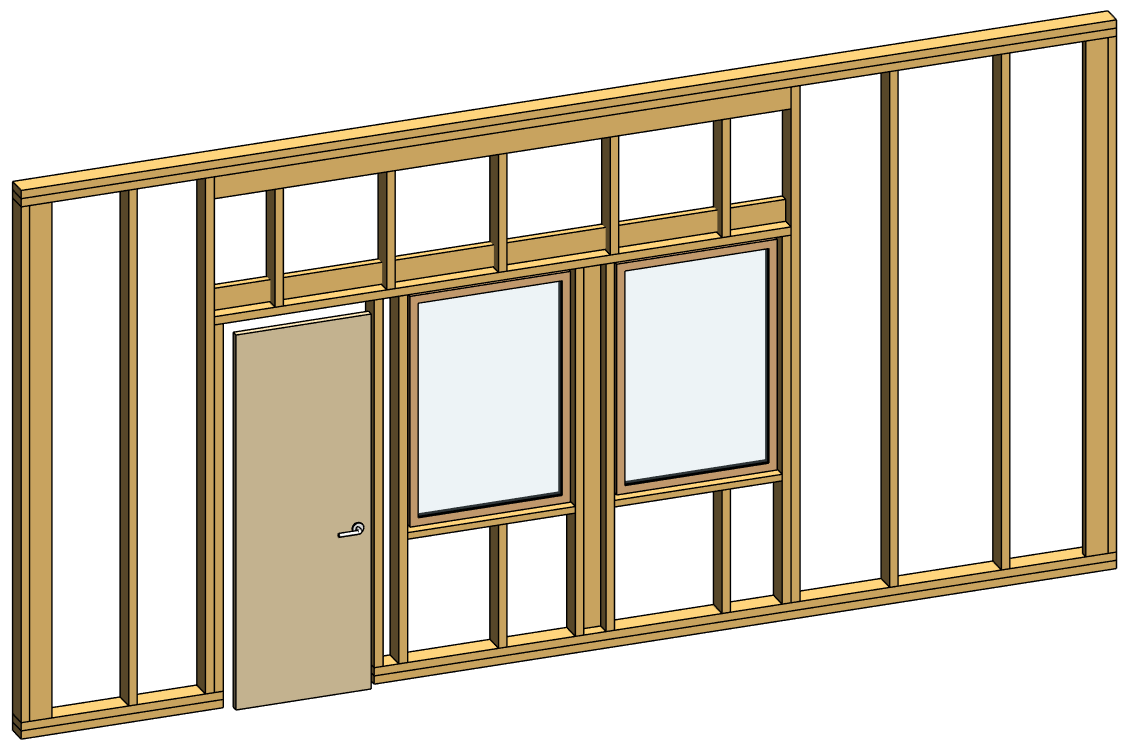
The latest versions of AGACAD’s Wood/Metal Framing Wall BIM Solutions for Revit have been enhanced by implementing some highly requested features. Now they’re more flexible than ever with additional possibilities for distributing studs and sheathing to help automate even more tasks of your complex framing projects in Revit. Also, you’ll have better control over framing joined openings, top plate supports and more.
 |
 |
Let’s dive in!
1. Align Stud Spacing with Frame and Opening Sides
With this new feature in Wood/Metal Framing Wall+, you’ll be able to distribute studs by a predefined spacing and restart the spacing at king studs or the sides of openings.

In the ‘Modify Settings’ tab, you‘ll find the option to choose whether the spacing should restart from the right side of the opening, the left side of the right king stud, or the axis of the right king stud:

Let’s compare the results when studs are distributed strictly by a predefined spacing versus when the stud spacing restarts (or aligns with) the side of an opening. Here’s the result when ‘None’ is selected and studs are distributed by a predefined spacing only:

And here’s the result when ‘Opening – Right Side’ is selected, at which point the spacing restarts.

As mentioned above, it’s also possible to restart the spacing from the right king stud’s left side or its axis line.
2. Split sheathing by openings and prioritize merging
When creating sheathing, it can be split by openings and the merging can be prioritized in the horizontal and vertical directions while keeping everything aligned with the studs!
For example, let’s set the sheathing dimensions for splitting parts horizontally:

Then, using the new features, let’s split them by openings horizontally and set the horizontal direction for merging:

Result:

If we were to increase the sheathing dimensions to 4000 x 1200 mm, we’d get this result:

Let’s try setting the sheathing dimensions to 3000 x 1200 mm for another wall, but this time, we‘ll split the sheathing vertically, add vertical splits on the opening sides, and set the vertical prioritization for merging:

Result:

Also, we can predefine the sheathing dimensions to 3000 x 1200 mm, split the sheathing vertically, add horizontal splits and vertical splits on the nearest opening studs, and set to horizontal prioritization for merging:

Here are the above settings applied to two different walls:


3. Joined openings
When framing joined openings in Revit, you‘ll now be able to create custom trimmers for left, middle, right and center locations and exercise more control over top and bottom cripples:

These custom configurations can be saved to the Database and used in future Revit projects.
4. Auto-align plate support with plate
Another great feature in the latest Wall+ version is the ability to align top/bottom plate supports with the top/bottom plate automatically, just by using this tick mark:

As you can see, the top plate support is aligned with the top plate:


5. New options in Wall Link Window
In the newest Wall+ version, you‘ll also notice a new column in the Wall Link Window titled ‘Configuration’.

This lets you choose between two options:
- Fixed – after ‘Frame Wall’ command (or when adding additional layers), the software will use the configuration that is set in the ‘Framing Configuration’ column.
- Variable – after ‘Frame Wall’ command (or when adding additional layers), the software will ask you which configuration you‘d like to use:

6. Split studs by brace
This feature allows you to run a brace that divides studs into separate stud groups.

7. Multi-frame assemblies
And last but not least, you can now create assemblies of multiple frames in Revit:

First, you’ll have to use ‘Add Frames to Assembly’, select an assembly that has already been created, and then select multiple frames or assemblies that you want to add. After the selection is finished, you need to end the task by clicking ‘Finish’ at the top-left of the Revit window:

Then, update the assembly, and all elements in multiple walls will be tagged, dimensioned, calculated, etc.

So, those are the updates that have been made to Wood/Metal Framing this time around. Current users: if you haven’t already done so, click the little red dot in the TOOLS4BIM Dock to download the latest version and put these updates to good use.
SOLUTION


Compatible with Autodesk® Revit® 2017, 2018, 2019
The definitive solution for wood/metal framing with Revit
Top Revit users call AGACAD’s Wood/Metal Framing Suite the most powerful and flexible BIM software on the market for constructions with multi-layer timber-frame or metal-frame walls, floors and roofs. That includes prefabricated panels, rafters and trusses, and great SIPs, CLT and post-and-beam solutions.
Advanced automation and built-in best practices help BIM professionals make optimal choices, move much faster, and avoid errors at every stage – from design and documentation to fabrication and construction.
It’s easy to quickly batch add, modify or mark just the right elements or parameters, distribute details, flexibly manage openings and connections, and find clashes. Frames dynamically update and adapt, ensuring that shop drawings and cut lists are always accurate.


