This post is about the Dynamo script for reinforcement created during our Precast Concrete webinar entitled “BIM modeling in Revit, CAM, drawings and reinforcement using Dynamo” (hosted May 9, 2019; recording available on YouTube). It should be helpful for anyone interested in modeling reinforcement more efficiently.
During the webinar we added some precast elements and placed connections and reinforcement. We also showed how to auto-generate shop drawings with Revit® and the Precast Concrete add-on developed by AGACAD. For the reinforcement, we produced a Dynamo script to create rebar based on 4 selected edges of the Host element with some simple parameters to control the rebar size and number.
Important notes: This post is intended for Revit 2019 and later editions since some nodes for rebar are not available in previous versions. We also suggest you review the additional Packages added to Dynamo (the add-ons in the image below). The reinforcement settings for Revit elements are already set to the correct values.

Once all the parameters are set, we can start on the Dynamo script. First we have to select the edges of the precast element: just search for a node and add it to the Dynamo work area.

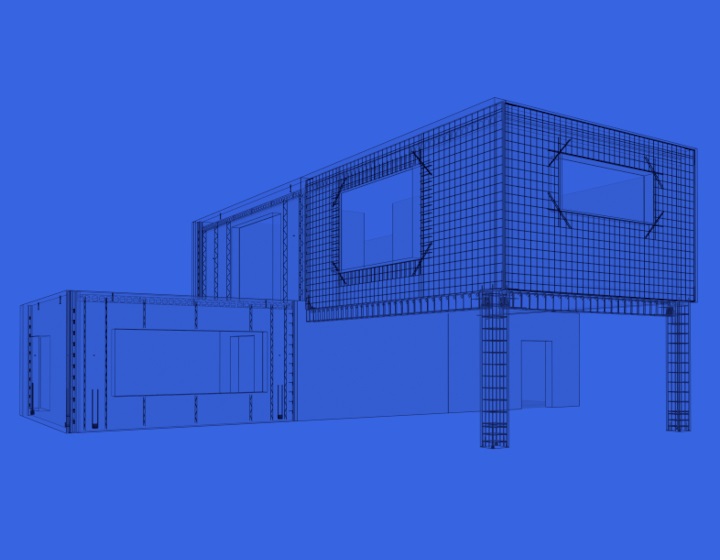
Use the Select button to select edges of the beam in the Revit model and then click ‘Finish’.

Now we have some lines in Dynamo which we will use to create the rebar geometry. The next step is to extend the curves, connect them, and after that filter out the Points from the list. We add the needed Dynamo nodes and connect them as follows:


Now we have 4 corner points. Let’s reorder them and produce a polygon using the appropriate Dynamo node:
 Then we need to offset the polygon in order to get a shape of the right size for the cover we need. At this point, we can use the polygon however we want – copying it as many times as we want, in any pattern, using different Dynamo nodes. For example, we can copy it by a defined distance at the start:

Then we will use a list of distances to copy a couple of them in a defined direction, like this:

Now that we have all the polygons, we can convert them into polycurves and then use some Dynamo nodes to create actual rebar in Revit.


So, that’s a very simple approach to the creation of reinforcements. We’ll look at some other possibilities in upcoming posts.